 |
| My daughter's t-shirt quilt. |
With that quilt, I obviously didn't worry abut things lining up exactly; it's a bit of a crazy quilt. The t-shirts themselves are the only "batting", and even so, it's a very heavy quilt.
This next quilt I'm making is going to be a gift for a guy who organized a bunch of college picnics. (He doesn't read this blog -- if you know who he is, SSHHH!!!! Don't tell him!). Because it's a gift and it's intended for display, it's going to be a lot more formal. I also don't get to pick-and-choose the colors; the t-shirts are going mostly in chronological order.
Here's how I'm starting the new quilt. This whole process took about 3-4 hours so far (not counting gathering the t-shirts, which is another story).
 |
| First, I laid out the t-shirts on a sacrificial sheet. The sheet will become the back of the quilt. For now, I'm only working on getting the general layout right. |
 |
| To prepare each t-shirt, I cut off the neck, the sleeves and the bottom. (Really, I'm trying to avoid lumpy seams). |
 |
| The cast-offs: A giant pile of rags. Note the shoe, for size comparison. |
 |
| Here's a close-up of the folding over method of layering t-shirts. If this were my kid's quilt, this is how I'd construct the quilt. For each t-shirt, I fold over the top side and the left side. Then I layer the t-shirts on top of one another like shingles. |
 |
| Here's what it looks like at this stage. Notice that the top left corners look pretty nice. The rest is still wrinkly -- smoothing comes later. |

folded the roll over, and put it all in a pillow case.

When I unroll it, everything will be in the right place still.
But in fact, as I thought about it, I decided that for this particular quilt, I wanted less overlap than the "shingled" look. Drat. More cutting. I got out a piece of cardboard to use as a stencil. I double-checked that I wouldn't be cutting off the edges of some of the logos, but also that it would fit on each t-shirt.
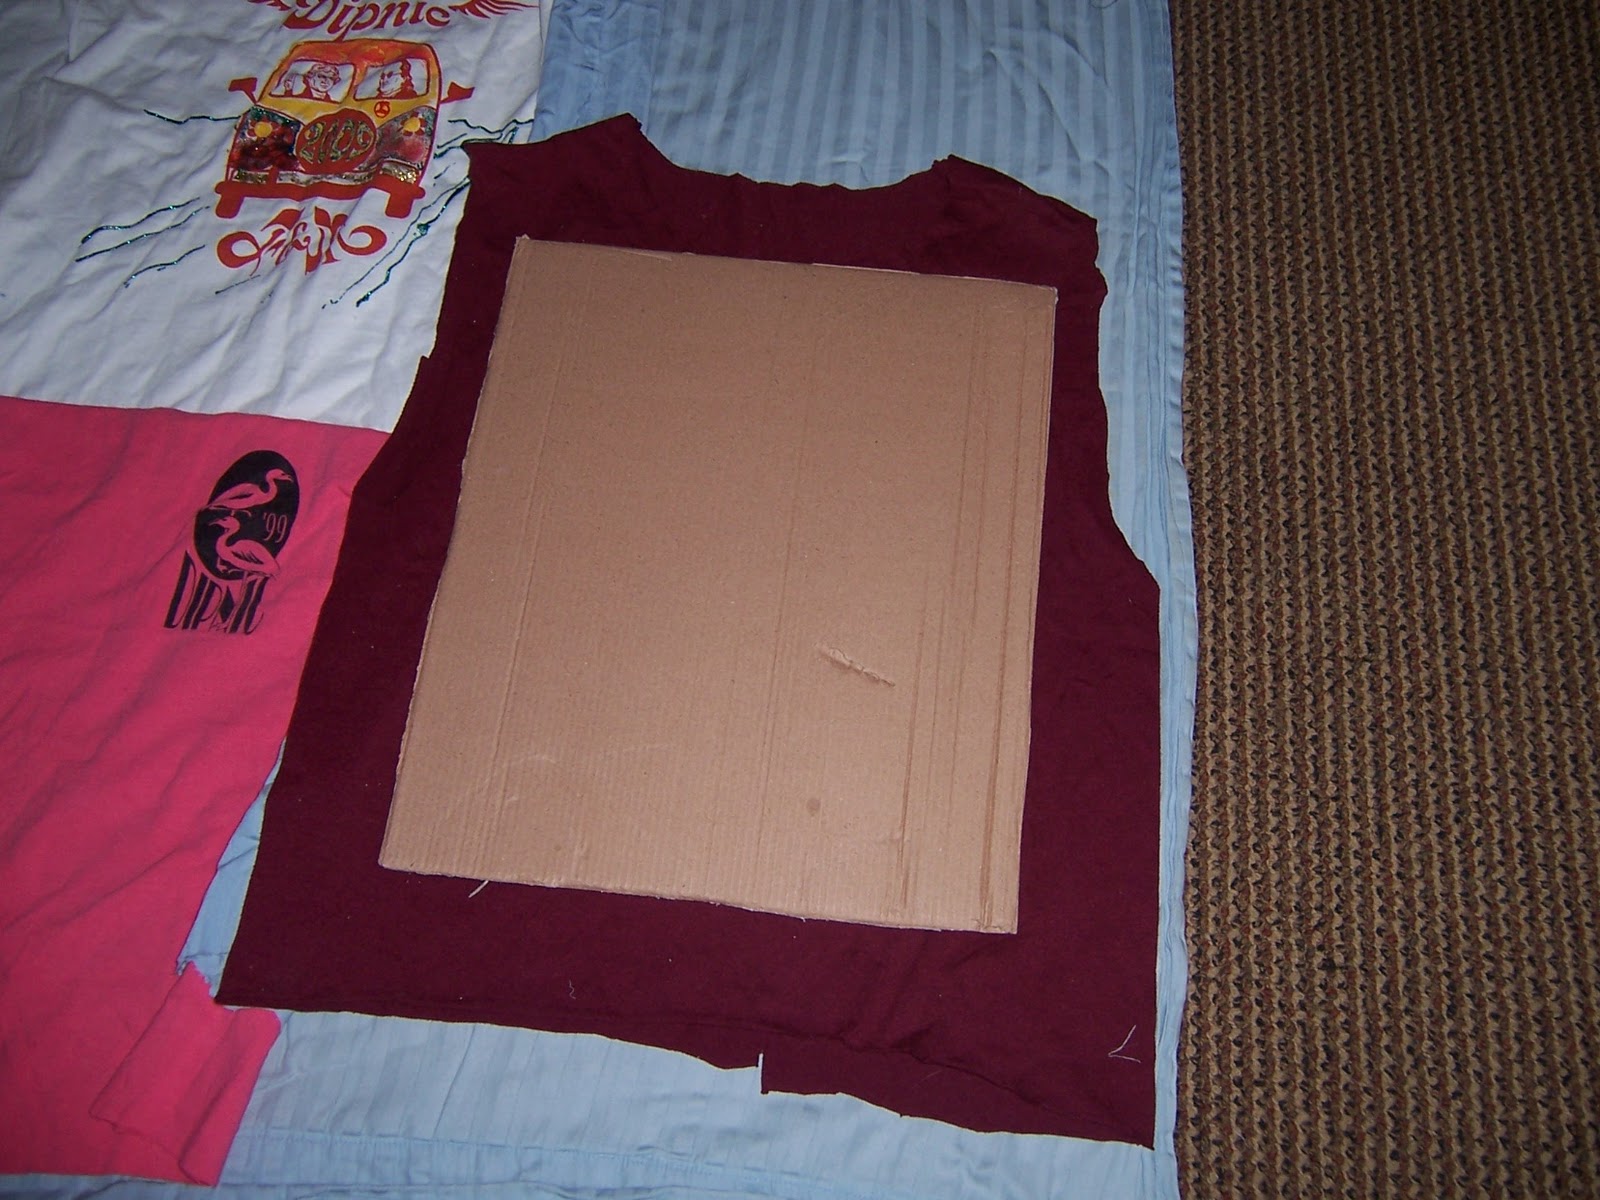
Since pinning things takes a lot of time I didn't want to spend, I got out my favorite heavy dictionary. The weight held the cardboard in place, and then I trimmed off the excess t-shirt material.


Laying everything out once again, I think this looks a lot nicer.
And that's about how far I've gotten so far. I didn't show pictures of pinning everything down, but I've done that now. Sewing comes next!


Laying everything out once again, I think this looks a lot nicer.
 |
| The quilt ready to pin. I'm going to add strips of fabric between the t-shirts to act as a border, and also to give people a place to sign their names. |
LOVE IT! All this time, you've been oogling my meager crochet skills, when this my friend is a project completely beyond my scope. I like it!
ReplyDelete